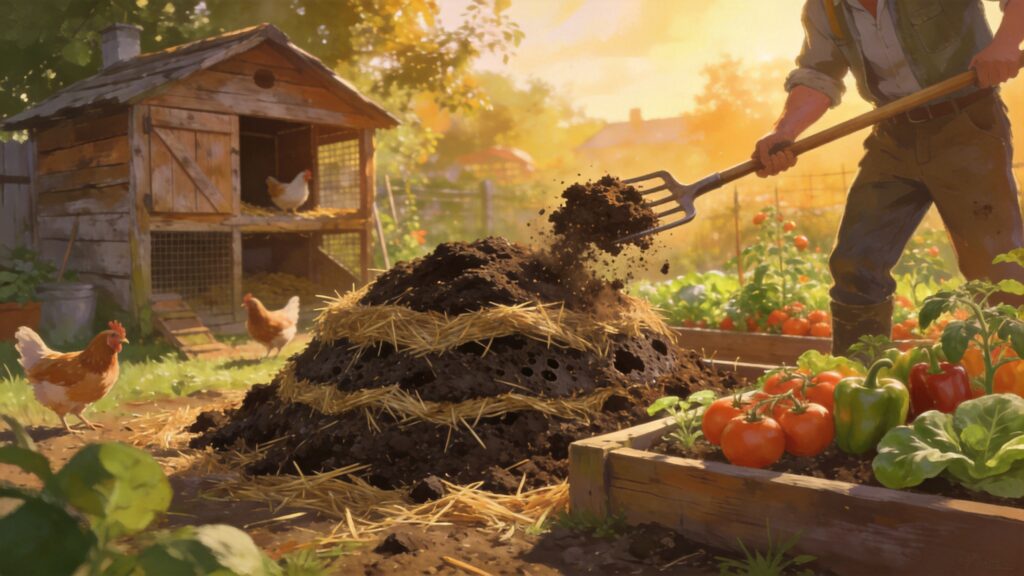
If you keep backyard chickens, you already know the joy of fresh eggs—but you may also be wondering what to do with that rapidly growing mountain of manure. Stop thinking of it as waste. That coop bedding mixed with droppings is one of the most potent organic fertilizers you can produce, if you handle it correctly. Raw chicken manure is too “hot” (high in nitrogen) to apply directly to plants—it can burn roots, introduce pathogens, and smell like a barnyard disaster. The solution? Turn it into compost. This guide will walk you through the entire process, from scooper to soil, so you can transform chicken poop into black gold for your vegetable garden.
Why Chicken Manure? Why Compost?
Chicken manure has a nitrogen content of roughly 1.5% to 2.5% (depending on diet and bedding), along with significant phosphorus (1%+) and potassium (0.8%+). That’s far higher than cow or horse manure. But the problem is twofold: pathogens (like Salmonella and E. coli) and high ammonia levels. Composting solves both by raising the pile’s internal temperature to at least 130–150°F (54–65°C) for several days, which kills most pathogens and weed seeds. The process also stabilizes the nitrogen so it releases slowly, feeding your plants without burning them. In short, composted chicken manure is safe, balanced, and incredibly productive—just what your tomatoes, peppers, and leafy greens crave.
The Science Behind Successful Chicken Manure Composting
Before we dive into methods, you need to understand the key variables that make or break a compost pile. These are universal, but chicken manure demands special attention because it’s nitrogen-rich. You’re aiming for a carbon-to-nitrogen ratio of 25:1 to 30:1. Bedding like straw, wood shavings, or dried leaves provides carbon (browns); the manure supplies nitrogen (greens). If your pile is too green (too much manure), it’ll get slimy, stinky, and anaerobic. Too brown, and decomposition stalls.
Critical Factors at a Glance
- Moisture: Aim for 40–60% — like a wrung-out sponge. Too wet = anaerobic rot; too dry = no microbial action.
- Aeration: Oxygen is essential for aerobic bacteria (the good guys). Turn the pile at least every 3–5 days during the hot phase.
- Particle Size: Shred or chop coarse materials (straw, branches) to increase surface area for microbes.
- Temperature: Use a compost thermometer. Keep it above 130°F for 3 consecutive days to kill pathogens. Above 160°F can kill beneficial microbes, so monitor.
Pro Tip from a Virginia homesteader: “I keep a bucket of urine-drenched wood shavings next to my chicken coop. Sounds weird, but urine is mostly urea—nitrogen. When I add fresh manure to the pile, I layer it with these urine-rich shavings. The extra carbon helps balance the pile, and the urine speeds up the initial thermophilic phase. My finished compost tests at a perfect 2-1-1 NPK.” — Sarah B., DIY Gardener since 2015
Three Proven Composting Methods for Chicken Manure
Choose the method that fits your space, time, and comfort level. Every setup needs at least a 3-foot cube (1 cubic yard) to generate enough heat for pathogen kill.
1. Hot Composting (The Gold Standard)
This is the fastest and most reliable method. Build a pile in one batch (not add-as-you-go) using layers: 6–8 inches of browns (straw, dry leaves, wood shavings), then 2–4 inches of chicken manure composted bedding. Repeat until the pile is 3–4 feet tall. Water each layer. Insert a thermometer. You should hit 130–150°F within 24–48 hours.
Case example: Mike from Oregon built a 4x4x4 bin ($50 in pallets). He uses a ratio of 2 parts wood shavings to 1 part manure. He turned it every 3 days for the first 2 weeks. Temperature peaked at 148°F on day 4. After 21 days, the pile cooled and was ready to cure for another 3 weeks. Total time: 6 weeks. “I planted my broccoli in a bed amended with this compost, and the heads were twice the size of last year’s.”
2. Static Aerated Compost (Less Work, Still Safe)
If you can’t turn a pile frequently, use this method. Build a pile on a base of wood chips or coarse straw (to promote airflow). Insert a perforated PVC pipe (4-inch diameter) horizontally through the center, with one end open to the air. Cover the pile with a tarp. The pipe passively delivers oxygen. You still need a good carbon-nitrogen mix. Temperature will stay high, but the process takes 2–3 months. This works great for busy families who want minimal intervention.
3. Vermicomposting (For Small Flocks & Indoor Use)
Red wiggler worms (Eisenia fetida) love aged chicken manure—but never feed them fresh manure. The ammonia kills worms. First, hot-compost the manure for 2–3 weeks to reduce ammonia, then mix it (50:50 with shredded cardboard) into a worm bin. The worms will produce castings that are a superior soil amendment. Warning: scale matters. A dozen chickens produce about 0.5 cubic feet of manure per week; you’d need a large bin to handle it. This is best for 3–5 chickens and a small raised bed garden.
How to Speed Up Decomposition
You don’t have to wait half a year. Use these shortcuts to get usable compost in 4–8 weeks.
- Shred your browns. Run leaves and straw through a chipper or mow them first. Smaller particles create more surface area for microbial action.
- Add a compost activator. Sprinkle a handful of blood meal, alfalfa meal, or a commercial activator (like Jobe’s Organics) on each layer. These introduce nitrogen and beneficial bacteria.
- Use the “lasagna” method. Alternate thin layers (1–2 inches) of green and brown materials rather than thick ones. This ensures oxygen reaches all parts.
- Turn more often. In the first 10 days, turn every 2 days. This reintroduces oxygen and prevents the pile from becoming anaerobic. A compost crank tool makes it easy.
- Monitor moisture religiously. If the pile is dry, microbes slow down. If wet, add dry browns and turn. Aim for that wrung-sponge feel.
- Cover with a tarp. This traps heat, prevents rain from over-wetting, and retains moisture. In cold climates, a black tarp in sunlight can raise internal temperature by 10–15°F.
Real gardener, real result: “I added a handful of wood ash from my fireplace to my chicken manure pile. The ash is alkaline, which helps neutralize the acidity that builds up during decomposition. My pile went from 110°F to 140°F within two days. I use ash sparingly—only about a cup per wheelbarrow load—because too much can lock up nutrients.” — Mark T., New Hampshire
Using Finished Compost in the Garden
How do you know it’s done? Finished compost looks dark, crumbly, smells earthy (not like ammonia). It should be cool to the touch. If you see recognizable chunks of manure or straw, let it cure another week.
Application Rates for Different Vegetables
Because chicken manure compost is more nutrient-dense than standard garden compost, you need less. Over-application can lead to excess phosphorus or salt buildup. Use the table below as a starting guide, and always mix it into the top 4–6 inches of soil.
| Vegetable Type | Recommended Compost per 100 sq ft | Notes |
|---|---|---|
| Leafy greens (lettuce, spinach, kale) | 1–2 cubic feet (about 1 standard 5-gallon bucket) | Light feeder; too much nitrogen makes leaves tender and prone to pests. |
| Heavy feeders (tomatoes, corn, squash) | 3–4 cubic feet | Application at planting time + side-dress when fruiting begins. |
| Root crops (carrots, potatoes, beets) | 2–3 cubic feet | Work deeply into furrows; avoid high nitrogen that causes forked roots. |
| Perennials (asparagus, rhubarb) | 1–2 cubic feet per plant | Top-dress in early spring and fall; do not dig into root zone. |
How to Apply: Three Easy Methods
- Soil amendment: Spread compost over your garden bed before planting and till or fork it in. This improves soil structure and adds slow-release nutrients.
- Side-dressing: After plants are established, place a 1-inch layer of compost around the stem (not touching it) and water in. Great for tomatoes and peppers during fruiting.
- Compost tea: Steep 1 cup of finished compost in 5 gallons of water for 24–48 hours (stir occasionally). Strain and use as a foliar spray or soil drench. Provides a quick microbial and nutrient boost. Note: Use within 4 hours for best results.
Conclusion
Turning chicken manure into compost isn’t just about waste management—it’s about closing the loop in your backyard ecosystem. With the right carbon-to-nitrogen balance, a little patience, and the simple methods described above, you’ll produce a soil amendment that rivals any bag from the garden center. Your plants will be healthier, your soil richer, and your chickens will feel like heroes. So grab a pitchfork, build that pile, and start turning poop into profit.