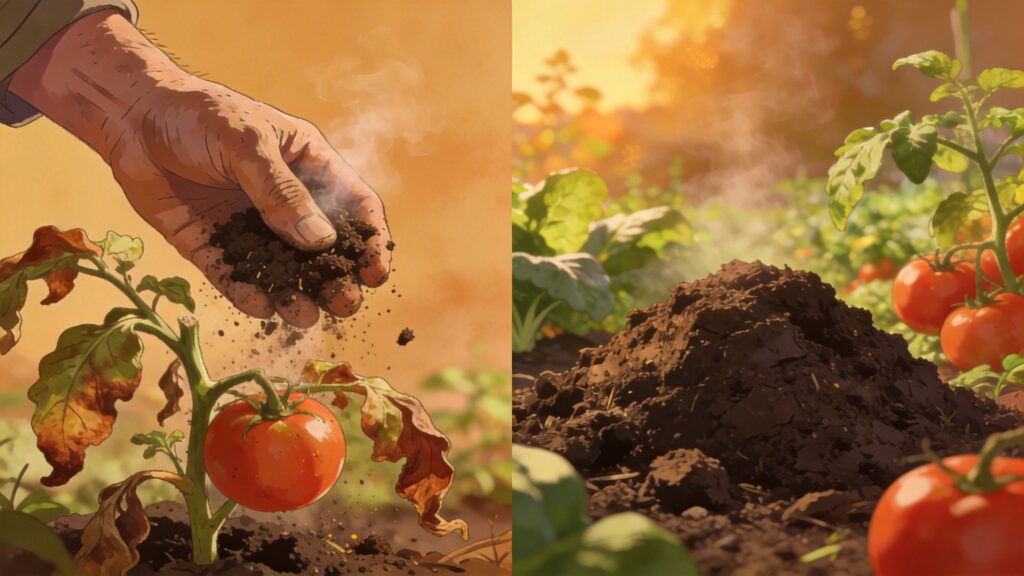
Fresh chicken manure is a gardener’s double-edged sword: it’s packed with nutrients that plants crave, but apply it raw and you’ll watch your crops crisp up overnight. Understanding the science behind this “hot” manure transforms a potential disaster into one of the most cost‑effective, organic fertilizers available. Here’s what American gardeners need to know to harness its power safely.
Why Fresh Chicken Manure Can Burn Plants
The term “hot” isn’t just hyperbole. Fresh chicken manure contains high concentrations of uric acid (a form of nitrogen) and soluble salts. When applied directly to soil, these compounds rapidly break down into ammonia and nitrate, creating a chemical environment that pulls water out of plant roots via osmosis — essentially, the plant dehydrates even if the soil feels moist.
Beyond osmotic shock, the ammonia can directly damage root tissue. This manifests as:
- Leaf scorch — brown, crispy edges on leaves within 24–48 hours of application.
- Stunted growth — roots fail to develop, and the plant stops producing new foliage.
- Wilting despite wet soil — a classic sign of fertilizer burn.
I once saw a neighbor spread fresh, undiluted chicken manure around his tomato transplants in mid‑May. Within three days, every plant looked as though it had been hit by a late frost. That’s the “hot” reality: raw manure can be up to 5 times more concentrated in nitrogen than well‑composted material, and it releases that nitrogen too quickly for plants to manage.
How Composting Transforms Chicken Manure into Safe Fertilizer
Composting is the biological alchemy that turns a plant‑killer into a gold standard amendment. The process relies on thermophilic bacteria — heat‑loving microbes that break down uric acid, reduce salt levels, and stabilize nitrogen into slow‑release forms.
To compost chicken manure effectively, you must balance its high nitrogen content with carbon‑rich “browns” such as straw, dried leaves, wood shavings, or shredded paper. A typical mix is 1 part manure to 2–3 parts carbon material by volume. The pile should reach internal temperatures between 130°F–150°F (55°C–65°C) for at least 3 consecutive days to kill weed seeds and pathogens.
| Factor | Target Range | Why It Matters |
|---|---|---|
| Carbon‑to‑Nitrogen (C:N) ratio | 25:1 – 30:1 | Prevents ammonia loss and odors; supports microbial growth. |
| Moisture content | 50–60% (damp sponge) | Too dry = microbes sleep; too wet = anaerobic rot. |
| Aeration | Turn every 3–5 days | Supplies oxygen to aerobic decomposers and controls temperature. |
| Duration | 4–6 months (hot); 8–12 months (cold) | Hot methods need careful management; longer cold methods are more forgiving. |
“Composted chicken manure isn’t just safe — it’s superior. The slow release of nutrients aligns with plant uptake curves, reducing the risk of leaching into waterways.” — Dr. Linda Chalker‑Scott, WSU Extension Horticulturist
Once the pile stops heating and looks dark, crumbly, and smells like earth (not ammonia), you’ve achieved successful transformation. The high‑salt content of fresh manure is diluted by both the carbon material and the leaching that occurs during turning.
Signs That Chicken Manure Is Ready to Use
Knowing when your compost is finished prevents accidental burn — and waiting too long lets nutrients dissipate. Look for these indicators:
- Visual: Uniform dark brown to black color; no visible pieces of straw or manure clumps.
- Smell: Pleasant, earthy aroma — no ammonia or sour odor.
- Temperature: The pile has cooled to ambient air temperature and stays there for at least 7 days after a turn.
- Texture: Crumbles easily in your hand; does not clump or stick together.
- Volume reduction: The pile shrinks by 40–60% from its original size.
Quick field test: Fill a jar halfway with finished compost, add water, shake, and let settle. The water should be light yellow to brown, not dark green or black. Dark liquid suggests high soluble salts — wait another 2–4 weeks.
For those who prefer a controlled approach, purchase a soil salinity meter (EC meter). Safe composted chicken manure should have an electrical conductivity below 3.0 dS/m when mixed 1:5 with distilled water.
Common Misconceptions and Practical Tips
Despite its popularity, chicken manure is surrounded by myths that lead to poor results. Let’s clear them up:
Myth #1: “Fresh manure is fine if I dig it in deep.”
Digging does not eliminate ammonia — it just moves the burn zone. Roots eventually grow into the trench, and the damage still occurs. Always compost first.
Myth #2: “Chicken manure is a complete fertilizer.”
It’s excellent for nitrogen, phosphorus, and calcium, but it’s low in potassium (K). Long‑term exclusive use can cause potassium deficiency in fruiting crops like tomatoes and peppers. Pair it with wood ash, kelp meal, or a low‑N potassium source.
Myth #3: “More is better – it’s organic after all.”
Over‑application of composted manure still overloads soil with phosphorus and salts, creating nutrient imbalances and harming beneficial mycorrhizal fungi. Stick to a maximum of 1 inch (2.5 cm) layer tilled into the top 6 inches of soil once per season.
Myth #4: “Bedding from the coop is already ‘composted.'”
Layers of wood shavings and droppings from intensive poultry houses may look brown, but they rarely reach thermophilic temperatures. That material is aged, not composted, and can still carry pathogens like E. coli or Salmonella unless heat‑treated.
“I’ve seen veteran growers lose entire strawberry beds to over‑application of ‘well‑aged’ manure that had never actually been turned. It looked dark, but the ammonia was still present below a thin crust.” — John, organic farmer in Oregon
Best Practices for Using Composted Chicken Manure in Your Garden
Once you have safely composted manure, maximize its benefits with smart application:
Application rates (for an average loamy garden)
| Crop type | Composted manure per 100 sq ft | Application timing |
|---|---|---|
| Leafy greens, corn, heavy feeders | 20–30 lbs (1–1.5 gallons) | 2 weeks before planting; mix into top 4–6 inches |
| Tomatoes, peppers, fruiting vegetables | 15–20 lbs (0.75–1 gallon) | At transplanting; side‑dress again at first fruit set |
| Carrots, beets, root crops | 10–15 lbs (0.5–0.75 gallon) | Fall incorporation for spring planting; avoid fresh manure near roots |
| Perennials, fruit trees | 2–3 lbs per plant (spread under drip line) | Early spring or late fall; do not pile against trunk |
How to apply
- Broadcast and incorporate — For beds, spread evenly and till or fork into the top 4–6 inches.
- Side‑dressing — Place a narrow band 4 inches away from plant stems, scratch into soil, and water lightly.
- Compost tea (steeping method) — Soak 1 part composted manure in 5 parts water for 24–48 hours with aeration. Dilute 1:1 before watering — great for a gentle foliar or root drench.
Safety note: Even composted, chicken manure may harbor pathogens. Wash all produce thoroughly and avoid applying manure tea within 15 days of harvest. For food crops that touch the ground (lettuce, strawberries), use a 90‑day application window before harvest as a conservative guideline.
Final Word: Turn Hot into Gold
Chicken manure is one of the most potent organic fertilizers available — but only if you respect its “hot” nature. By composting thoroughly, reading the signs of readiness, and matching application rates to crop needs, you can unlock slow‑release nutrition that builds soil health, cuts fertilizer costs, and produces vigorous plants without burn. The key? Patience and a thermometer.