You’ve been incubating eggs for 11 days, carefully turning them, keeping the humidity just right, and whispering words of encouragement. Then you pick one up to candle it, expecting to see a web of life. Instead: nothing. Just a dark, silent yolk. Panic sets in. Before you toss the whole batch, take a deep breath. I’ve been there—and what looks like failure is often a lesson in patience, technique, or simple biology. Here’s what’s really happening on Day 11.
Why Day 11 Candling Shows Nothing: Infertile or Early Quitters
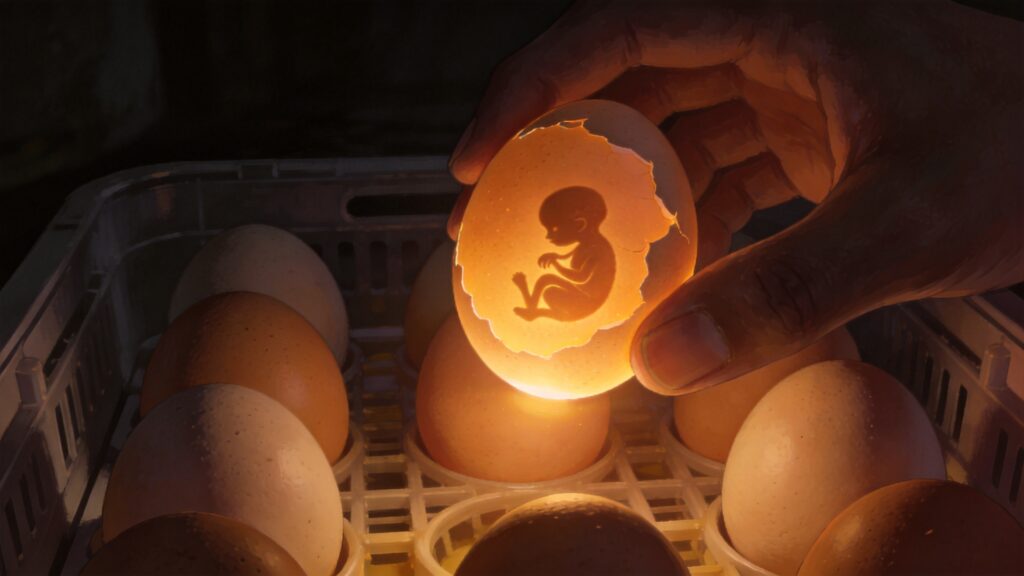
By Day 11, a viable embryo should have a visible network of blood vessels and a moving dark shadow. If you see only the yolk and air cell, there are two likely explanations:
- Infertile egg – The egg was never fertilized. This is common when roosters are absent, too old, or when hens produce poor-quality eggs. Even with a rooster, fertility rates can drop below 50% in older flocks or during extreme weather.
- Early quitter – The embryo started developing but died within the first few days. This can happen due to temperature spikes, genetic defects, bacterial contamination, or incorrect humidity during the initial incubation phase.
A common myth is that you can always see veins by Day 7. In reality, dark-shelled eggs (like Marans or Welsummers) or porous eggs (like those from older hens) can hide veins until Day 12–14 if the candling light isn’t strong enough. But by Day 11, a viable embryo in a light-shelled egg should show clear veins. If you’re using a cheap pen light or phone flashlight, you’re likely missing the picture entirely.
“I once candled a batch of Barred Rock eggs on Day 11 and saw nothing. I almost threw them out. Then I borrowed a proper candling lamp and found six out of nine were alive—just hidden by thick shells. The two that were truly infertile were easy to spot under bright light.” – Sarah, backyard hatcher from Ohio
If you’re still unsure, mark each egg with a pencil and re-candle on Day 14. A quitter will show a blood ring or a dark, fuzzy spot near the air cell. An infertile egg will look exactly the same as Day 1, with a clean yolk.
How to Properly Candle Dark or Porous Eggs
Candling is an art, not a science. Many beginners give up too early because their equipment or technique fails them. Here’s how to improve your odds of seeing the truth:
Use a Strong, Focused Light Source
Phone flashlights are too weak for most dark-shelled or barn-laid eggs. Invest in a LED candling wand (150+ lumens) or a high-intensity flashlight with a rubber cone attachment. For porous eggs, angle the light at 45° rather than straight through the shell—this reduces glare from tiny shell pores.
Work in Complete Darkness
Even background room light can wash out faint veins. Candle in a closet, bathroom with no windows, or at night with all lights off. Let your eyes adjust for 30 seconds before reading each egg.
Look for Movement, Not Just Veins
On Day 11, a live embryo may be tucked beneath the yolk, making veins invisible. Instead of searching for red lines, watch for motion. Gently rotate the egg; a living chick will shift its position. You might see a tiny shadow or a rhythmic heartbeat near the air cell. If you see any flicker, it’s alive.
The Air Cell Test
Mark the air cell boundary with a pencil. In a viable egg, the air cell should be growing steadily as moisture evaporates. If the air cell hasn’t expanded by Day 11, the egg is likely dead or infertile (assuming humidity is correct). This trick works even with the darkest shells.
For speckled or rough-shelled eggs, try wet candling: dab a drop of water on the shell where you’ll shine the light. The water fills tiny cracks and pores, making the shell temporarily translucent. This can reveal veins that were previously hidden.
| Mistake | Why It Fails | Fix |
|---|---|---|
| Phone flashlight | Low lumens, diffused light | Use a 200+ lumen LED wand |
| Candling with room lights on | Glare obscures faint veins | Work in absolute darkness |
| Rotating egg too fast | Blurs movement and shadows | Rotate slowly, pause each second |
| Skipping air cell check | Misses dead embryos with no growth | Always measure air cell size |
When to Remove Dud Eggs and Sanitize for the Next Hatch
Once you’ve confirmed an egg is infertile or dead (by Day 14–18), leaving it in the incubator is risky. A rotting egg can explode, spreading bacteria that kill viable chicks. Here’s a safe removal timeline:
- Day 10–12: Remove clear (infertile) eggs that show only yolk with no veins or blood ring. These usually don’t smell yet but can invite mold.
- Day 14–18: Remove eggs with blood rings, dead embryos, or leaking contents. Wear gloves and open them outside if you want to confirm; otherwise, just discard them in a sealed bag.
- After Day 18: Do not open the incubator unless absolutely necessary. A dead egg at lock-down stage can be left until hatch day—it’s less likely to burst than a week-old rotten one.
“I learned the hard way: left a dead egg in until Day 21. It burst overnight, and I lost three chicks to bacterial pneumonia. Now I candle every egg on Day 14 and remove any suspect ones immediately. Sanitize the incubator with dilute bleach between hatches—no exceptions.” – Mike, hatchery manager, Texas
How to Sanitize for the Next Hatch
After removing dud eggs, you don’t need to scrub the entire incubator mid-hatch—that can shock existing embryos. But for the next batch, follow this protocol:
- Disassemble the incubator: remove trays, fans, and water pans. Wash all parts in hot, soapy water (avoid abrasives that scratch plastic).
- Sanitize with a 10% bleach solution (1 part bleach to 9 parts water) or a poultry-safe disinfectant like Virkon S. Let it sit for 10 minutes, then rinse thoroughly.
- Dry completely before reassembling. Any moisture left can breed mold or bacteria for the next batch.
- Run a test cycle for 24 hours with the incubator empty to verify temperature and humidity stability.
If you’re hatching in a shared space, consider using a separate “quarantine” incubator for untested eggs. One rotten egg can contaminate dozens of healthy ones within hours, especially during the first week when the shells are most porous.
Practical Cases: What Your Day 11 Candling Might Reveal
Let’s look at three common scenarios you might face:
- Scenario A: Clear egg, no veins, no air cell growth
- Almost certainly infertile. The yolk looks fresh and the air cell hasn’t expanded. Remove it by Day 12 and check your rooster-to-hen ratio. Keep this egg for a simple float test if you’re curious—it will sink flat in water (discard afterwards).
- Scenario B: Dark egg, no visible veins but air cell is normal size
- Could be alive but hidden. Apply the wet candling trick or wait until Day 14. Mark it with a “?” and check again. If you see movement, leave it alone. If still nothing by Day 16, it’s probably dead.
- Scenario C: Blood ring or dark spot near air cell
- Embryo died early. The blood ring appears when capillaries rupture. Remove immediately—this egg is a biohazard. Open it outside (wearing gloves) to confirm: you’ll see a tiny embryo attached to a red ring. Sanitize your hands and any tools used.
Conclusion
Day 11 is a tease: too early for perfect visibility, too late for wishful thinking. But an empty-looking egg doesn’t mean you failed—it might be a hidden chick, a lesson in equipment, or simply a numbers game. Trust your candling technique, check the air cell, and know when to let go. Every hatch loss teaches you something. Sanitize, reset, and try again. That first pipping sound is worth the wait.