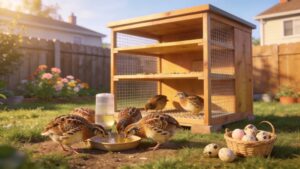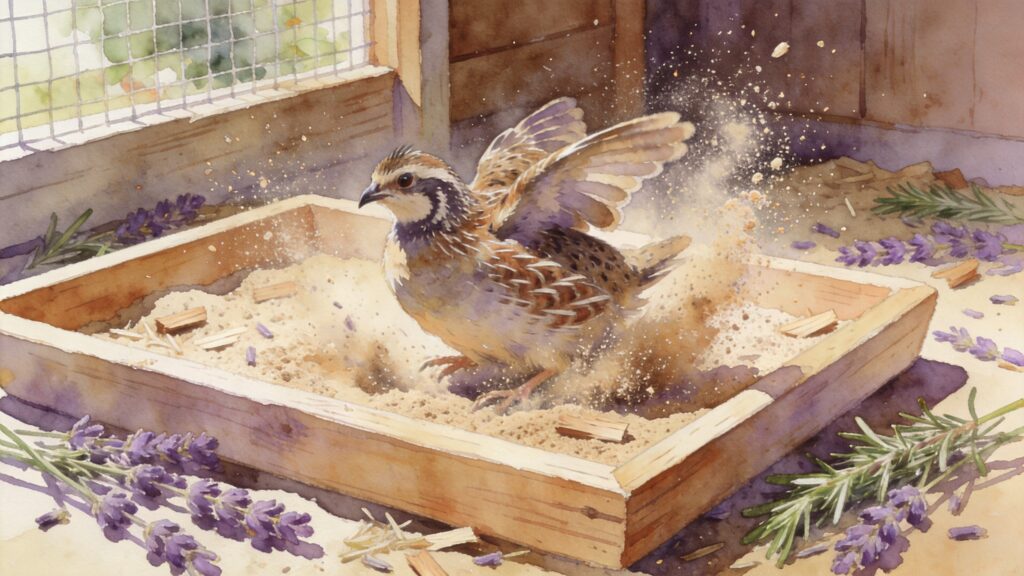
Raising quail brings a unique joy, but keeping them healthy requires more than just feed and water. A proper dust bath isn’t a luxury—it’s a biological necessity that protects their feathers, controls parasites, and supports natural behavior. This article dives into two proven dust bath approaches, explains why they matter, and gives you step‑by‑step DIY instructions that work for any flock size.
Why Dust Baths Are Essential for Quail Health
Quail in the wild spend a significant part of their day dust bathing. It’s an instinctive grooming ritual that keeps their plumage in top condition. Without it, quail quickly develop skin irritation, feather damage, and even respiratory issues. Here are the core benefits every keeper should know:
- Feather Maintenance: Fine dust absorbs excess oils and dirt, preventing feathers from matting. Clean feathers retain their insulating and waterproofing properties—critical for outdoor birds.
- Parasite Control: Dust particles abrade and dehydrate external parasites like mites, lice, and fleas. Regular dusting drastically reduces infestations without chemicals.
- Mental Stimulation: Dust bathing is a natural stress‑reliever. Quail that lack this outlet often feather‑pick, become aggressive, or develop repetitive pacing.
- Respiratory Health: Believe it or not, a layer of dry dust helps keep the nasal passages clear of excess mucus. (A dusty environment is different—we’re talking about clean, dry substrate.)
One backyard breeder told us, “I noticed my quail stopped feather‑picking the moment I switched from a plain sandbox to a proper dust bath mix. It was like flipping a switch.” That testimonial highlights how something so simple can transform your flock’s wellbeing.
“I noticed my quail stopped feather‑picking the moment I switched from a plain sandbox to a proper dust bath mix. It was like flipping a switch.” — Jenna T., Missouri quail keeper
Two Proven Dust Bath Approaches: Basic vs. Enhanced
There are endless variations, but most successful keepers rely on two main approaches. The basic dust bath is simple and cheap. The enhanced dust bath adds ingredients for targeted parasite control and extra grooming benefits. Both are effective—your choice depends on your quail’s environment and your goals.
Approach 1: The Classic Dry Sand & Soil Mix
This is the “starter” dust bath. Use a mix of fine silica sand and dry topsoil (sifted to remove stones). The sand provides grit for exfoliation, and the soil holds moisture‑free dust. Many keepers use a ratio of 2 parts sand : 1 part soil. It’s safe for chicks and adults, and it’s the most economical option.
Approach 2: The Enhanced “Parasite‑Proof” Blend
For flocks with a history of mites or for outdoor pens where wild birds introduce parasites, the enhanced blend adds two powerful ingredients:
- Food‑grade diatomaceous earth (DE) (1 part per 8 parts base mix) – DE’s microscopic sharp edges cut through insect exoskeletons.
- Wood ash or powdered sulfur (optional, 1 part per 10 parts) – Ash absorbs oils and deters lice. Sulfur is a classic mite repellent, but use it sparingly and only in well‑ventilated areas.
Some keepers also add dried herbs like lavender, rosemary, or peppermint. While the scent doesn’t directly kill parasites, it discourages them and makes the bath more appealing to quail.
DIY Dust Bath Recipes: Two Fail‑Safe Formulas
Below are precise recipes for both approaches. Use these as a starting point—adjust based on your quail’s reaction and local climate.
| Ingredient | Basic Mix (Approach 1) | Enhanced Mix (Approach 2) |
|---|---|---|
| Fine silica sand (play sand works) | 8 cups | 8 cups |
| Dry topsoil (no fertilizers) | 4 cups | 4 cups |
| Food‑grade diatomaceous earth | — | 1.5 cups |
| Wood ash (from untreated hardwood) | — | 1 cup (optional) |
| Dried lavender or rosemary (ground) | — | ¼ cup (optional) |
Mixing tip: Combine everything in a large bin and mix with your hands or a trowel until the texture feels like a dry, powdery beach sand. If it clumps, it’s too damp—spread it in the sun for an hour. Quail prefer a fine, talc‑like consistency that coats their feathers without sticking.
How to Choose and Set Up the Perfect Dust Bath Container
The container matters almost as much as the mix. Quail need enough room to fully submerge and thrash—about 6–8 inches deep and at least 12 inches across for a group of 6–8 birds. Here are three container options that work well in American backyards:
Option A: Shallow Plastic Storage Bin (Budget‑Friendly)
A 18‑quart bin (roughly 23” x 16” x 6”) works perfectly. Cut a 4‑inch entry hole in one side to keep the dust from scattering everywhere. The lid (partially closed) helps retain moisture‑free conditions. This is ideal for indoor or garage setups.
Option B: High‑Sided Cat Litter Pan (Outdoor Favorite)
These pans have tall walls that minimize spillage. Place them inside the quail pen, ideally under a roof to keep rain out. Quail will kick dust over the rim, so put a layer of straw or cardboard around the base for easy cleanup.
Option C: Open Wooden Tray (Natural Look)
Build a simple tray from untreated lumber (e.g., 2”x12” boards). Add a 1‑inch lip around the edge. Wood breathes better than plastic, which helps keep the dust dry in humid climates. The downside: wood can absorb moisture and become a breeding ground for bacteria if not replaced regularly.
No matter which container you choose, drill a few small drainage holes in the bottom if it will be left outdoors. That prevents water from pooling after a surprise rainstorm.
How Often to Provide and Change Dust Baths
Consistency is key. Quail will dust bathe several times a day if given the chance, but the bath itself needs regular care. Here’s a practical schedule that keeps your birds happy and healthy.
- Fresh Mix Frequency
- Completely replace the dust bath material every 2–3 weeks, or sooner if it looks compacted or damp. In humid summer months, change it weekly to prevent mold growth.
- Spot Cleaning
- Remove droppings and large debris every 2–3 days with a small scoop. Quail often poop in the bath, so daily spot checks are ideal.
- Observation
- Watch how often your quail use the bath. If they stop using it, the mix may be too wet, too coarse, or contaminated. A dry, powdery bath should be irresistible.
One experienced keeper in Oregon shared a practical tip: “I keep two dust baths rotating. One sits in the pen while the other dries in the sun. That way my quail never go a day without access.” This is especially helpful if you have a large flock (12+ birds) that can deplete a bath quickly.
During winter, when humidity inside a heated coop is low, you may need to add a small amount of dry sand or DE to refresh the mix. Never add water—moisture ruins the dust’s ability to coat feathers.
Putting It All Together: A Real‑World Setup
Let’s walk through a typical backyard scenario. Sarah keeps 8 Coturnix quail in a 6’x8′ outdoor pen with a covered roof. She uses the enhanced mix (Approach 2) in a cat litter pan. She refreshes the bath every 2 weeks, and in between she adds a cup of fresh sand if the dust starts clumping. After three months, she reports zero mites and noticeably glossier feathers. “My birds fight over who gets in first,” she laughs.
For groups of 20 or more, use a larger container—an old kiddie pool works great in dry climates. Just be sure to cover it during rain. And always place the bath in a quiet corner of the pen; quail are nervous while dusting and need privacy.
A dust bath is one of the lowest‑cost, highest‑impact health tools you can give your quail. Whether you start with the basic sand‑soil mix or jump straight to the enhanced version with DE and ash, your birds will reward you with brighter feathers, fewer parasites, and calmer behavior. Build one this weekend—your flock will thank you.