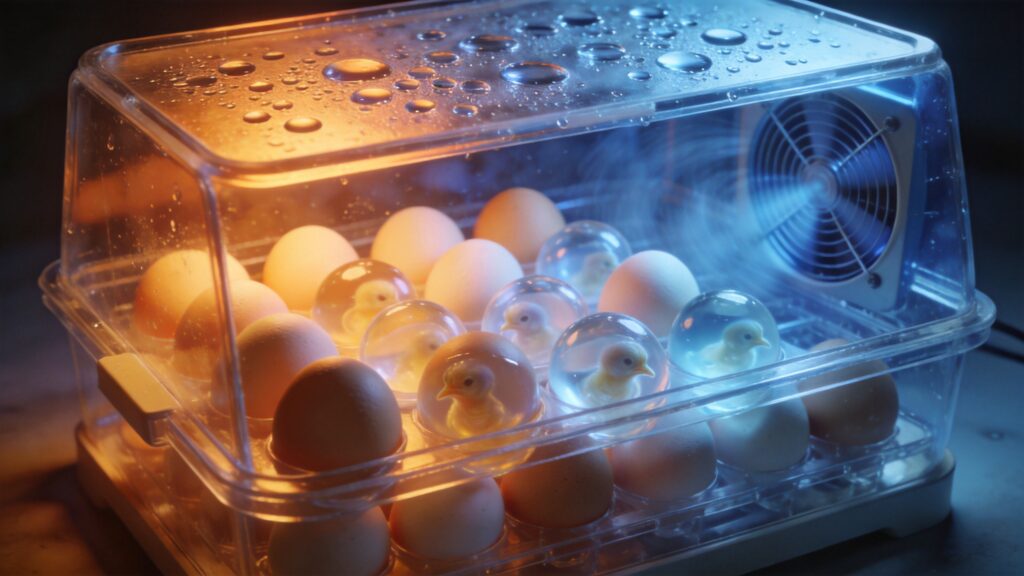
You’ve set your incubator with care, dialed in the temperature, and filled the trays with precious eggs. Days later, you crack open a failed hatch and find a mix of fully developed chicks, half-formed embryos, and clear eggs—a classic sign of hot and cold spots. Uneven temperature distribution is the silent killer of hatch rates. This guide walks you through the ten unmistakable signs that your incubator suffers from hot and cold spots, along with field-tested solutions to restore uniform warmth. Whether you’re hatching chickens, quail, or exotic birds, mastering airflow is the difference between a disappointing fluff count and a thriving brood.
Recognizing the Signs of Poor Air Circulation
Poor air movement is the root cause of most temperature gradients. When fans are weak, vents are blocked, or the incubator is packed too tightly, stagnant pockets of heat form. Here are four early warning signs that your incubator’s airflow is compromised.
1. Uneven Embryo Development in the Same Batch
After day 10 of incubation, candling reveals that eggs in the center of the incubator show strong veins and active movement, while eggs near the edges appear slower or have stopped developing entirely. This discrepancy points directly to a temperature disparity—usually a hot center (from heat rising) and cooler edges. The solution is to ensure your fan is running at full speed and that nothing blocks the air path. For still-air incubators (without a fan), this is expected, but you can mitigate it by turning eggs more frequently and adding a small computer fan inside.
2. Condensation Only on One Side of the Lid
Walk up to your incubator and notice that condensation beads are heavy on the left side of the viewing window but absent on the right. This indicates that the warm, humid air isn’t circulating evenly. Condensation forms where warm moisture meets a cooler surface; a one-sided pattern means that side is significantly cooler, often because airflow pushes heat away from it. A quick fix is to rotate the incubator 180 degrees and check if the condensation shifts. If it does, the unit itself may have a design flaw. Consider adding a small circulating fan to homogenize the internal climate.
3. Chicks Hatch With “Stickies” or Unabsorbed Yolks
Chicks that hatch with yolk sacs still partially external, or that become glued to the eggshell (called “sticking”), are often victims of temperature spikes during the final three days. Hot spots dry out the membranes too quickly, while cold spots slow metabolism. The result: weak chicks that struggle to hatch. Case study: A breeder in Oregon noticed that 40% of her chicks had unabsorbed yolks when hatched in a styrofoam incubator. After installing a small duct fan and redistributing egg trays, the problem dropped to under 5% in the next hatch. Invest in a reliable fan or upgrade to a forced-air model if you see this pattern recurring.
4. Persistent Water Loss Rate Mismatch
Using a hygrometer inside the incubator, you record 55% humidity, yet the eggs lose too much weight during incubation (based on candling or weight tracking). This paradox—correct humidity but excessive water loss—often means the eggs closest to the heat source are experiencing higher effective temperatures, accelerating evaporation. Meanwhile, eggs in cooler zones lose too little water. Proof of hot/cold spots: weigh eggs individually from different locations. If variance in weight loss exceeds 15% within the same batch, you have uneven temperature. Fix: install a small fan, and space eggs so none are directly in front of heating elements.
Testing for Temperature Variations
You might suspect hot spots, but confirmation requires measurement. These next three signs help you pinpoint exactly where and how large the temperature swings are.
5. Your Single Thermometer Reads 99.5°F, but Eggs Hatch Late
A single reading in the center of the incubator may show a perfect 99.5°F (for chicken eggs). Yet your chicks consistently hatch on day 22 instead of day 21, or they hatch over a 36-hour period. This is a textbook symptom of temperature gradient: the thermometer is in a “neutral” zone, while eggs elsewhere are cooler. Pro tip: Place three calibrated digital thermometers at different levels—top shelf, middle, and bottom shelf. Wait 30 minutes and record readings. A difference of more than 1°F (0.5°C) is cause for concern. Use a data logger to track temperature changes over time; many incubators have hidden cold pockets that only appear when the room temperature drops at night.
6. The “Stratification” Pattern When You Open the Lid
After opening the incubator to turn eggs, you notice a distinct wave of heat that rushes out, followed by air that feels cooler near the floor. If you close the lid quickly and later check the thermometer, you find it dropped 4°F and took 45 minutes to recover. This excessive recovery time reveals that the heating element is fighting against stratified air. Quantify it: Use an infrared thermometer (non-contact) to scan the surface of eggs in different locations. If the difference between the hottest and coolest egg exceeds 3°F, your airflow is inadequate. Solution: add a small computer fan (80mm or 120mm) to actively circulate air, and ensure the fan blows across the heating element to distribute heat evenly.
7. Digital Controllers Show Wild Temperature Oscillations
Your incubator has a digital controller that reads 99.6°F, then 97.2°F two minutes later, then 101.1°F—all without any lid opening. This rapid cycling usually means the thermostat’s sensor is reading temperatures in a small hot pocket near the heating element, causing the controller to turn off too soon (overshoot) or on too late. The rest of the incubator lags far behind. Fix: relocate the temperature sensor to the center of the egg mass, away from heating elements. Also, place a small fan near the sensor to ensure it measures the true average temperature. Many experienced hatchers mount the sensor inside a small metal tube to buffer rapid fluctuations.
To make testing easier, here is a quick-reference comparison table for common measurement methods:
| Method | Best For | Accuracy | Cost |
|---|---|---|---|
| Digital thermometer (single probe) | Quick spot-check at one location | ±0.5°F | Low |
| Multiple thermometers (3–5 units) | Mapping entire incubator gradient | ±0.3°F | Moderate |
| Infrared thermometer | Surface temperature of eggs and walls | ±1°F | Moderate |
| Data logger (e.g., Inkbird, Thermoworks) | Continuous 24-hour trends | ±0.2°F | Higher |
| Wet/dry bulb hygrometer | Inferring temperature via evaporation rate | Indirect | Low |
Improving Airflow with Simple Modifications
Once you’ve identified the problem areas, the final three signs guide you toward practical, low-cost fixes that even a beginner can implement before the next batch.
8. The “Lazy Egg” Effect – Eggs in Corners Don’t Pip
If you notice that eggs placed in the corners of the incubator rarely pip (break the shell) compared to eggs in the middle, you’re seeing the result of dead air zones. Corners are notoriously cold because they receive less airflow and heat loss through the walls is greater. Simple modification: rotate egg positions every day instead of just turning the eggs. Use a marker to label each egg with its position, and systematically shift them inward. Alternately, install a small deflector (a curved piece of cardboard or aluminum) to direct the fan’s airflow into the corners. Real-world example: a hobbyist in Texas drilled a few ¼-inch holes in the corners of his still-incubator’s lid to allow warm air to rise into the corners—hatch rate jumped from 45% to 78%.
9. The “Smoke Test” Reveals Stagnant Bubbles
You can’t see air, but you can trace it. Light a thin incense stick or a cigar and slowly move it around the edges of the incubator (with the lid closed except for a small gap). If the smoke drifts straight upward or forms a lazy spiral in one area, that’s a stagnant zone. Fix those zones by one of three methods:
- Add a second fan on the opposite side of the heating element to create a cross-flow pattern.
- Raise the incubator off the table by 1–2 inches to allow bottom ventilation (especially important for lab-grade incubators with solid bases).
- Use egg cartons with ventilation holes – some solid plastic cartons block airflow beneath the eggs. Switch to wire mesh trays or cartons that have cut-out bottoms.
After making adjustments, repeat the smoke test. You should see the smoke disperse quickly in all directions.
10. Humidity Spikes After Adding Water
When you refill the water channels, the humidity gauge jumps from 40% to 70% in minutes, then slowly drifts down over hours. This erratic behavior often indicates that the water is evaporating only from the tray nearest the hot spot. Meanwhile, water trays in cooler areas barely evaporate, creating a cycle: the controller overcompensates, and eggs in the dry zone suffer. Solution: add multiple shallow water pans spread across the floor of the incubator, rather than one large pan at one end. Also, ensure that the fan circulates air above each pan. Pro tip: use a sponge or cloth wick in each tray to increase surface area and stabilize evaporation.
“I spent two years wondering why my hatch rate never exceeded 65%,” says Martha, a backyard chicken keeper in Virginia. “After I installed a second fan and moved my water tray to the center, my next hatch hit 92%. Don’t underestimate how much airflow affects humidity.”
For those who want a systematic approach to airflow modifications, here is an ordered checklist of actions, from simplest to most involved:
- Unblock vents – remove any tape, labels, or debris covering intake or exhaust vents.
- Rearrange eggs – avoid packing more than three rows deep; leave ½ inch between eggs.
- Add a circulation fan – a 12V 80mm computer fan wired to a 12V adapter works wonders. Mount it on the lid pointing down or on the side wall.
- Create baffles – use food-grade aluminum foil to form a funnel that directs air across heating elements and into corners.
- Calibrate your thermostat sensor – relocate it to the center of the egg mass, not near the heater.
- Perform a full test hatch with cheap eggs to validate your adjustments before putting in expensive rare breeds.
Conclusion
Hot and cold spots are the most common yet most overlooked cause of failed hatches. By learning to recognize the ten signs—from uneven embryo development to erratic humidity spikes—you can diagnose airflow problems early. Testing with multiple thermometers and a simple smoke trace gives you hard data, while easy modifications like adding fans, repositioning sensors, and redistributing water trays can transform a frustrating incubator into a reliable hatchery. Take the time to fine-tune your unit; your chicks will reward you with strong, even hatches.