Introduction
Finding a missing chicken, scattered feathers, damaged fencing, or an overturned feeder can leave you wondering:
“What got into my coop?”
The answer isn’t always obvious.
Different predators can leave different clues, but no single sign should automatically be treated as proof. Tracks can be unclear, carcasses may be disturbed by multiple animals, and scavengers can alter what happened after the original attack.
The most reliable approach is to look at multiple signs together.
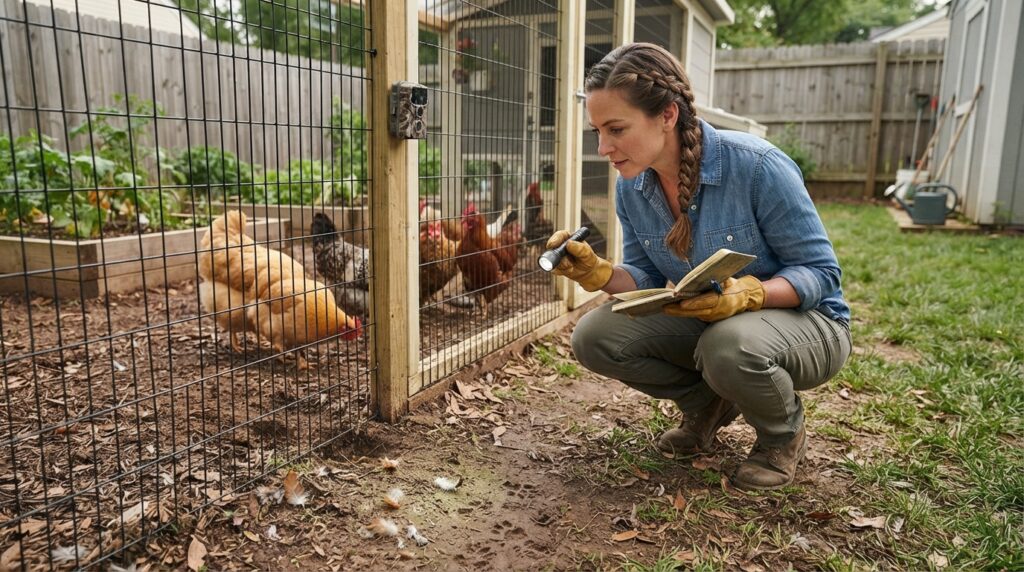
Think like an investigator.
Look at the location, damage, tracks, feathers, entry points, time of activity, and what happened to the bird. Then compare those clues rather than relying on one dramatic sign. 🕵️♀️
1. Start With the Location
Before touching anything, look at the scene.
Ask:
- Where was the bird found?
- Was it inside the coop or outside?
- Were feathers concentrated in one place?
- Is there blood?
- Is there an obvious entry point?
- Is the fencing damaged?
- Was the bird carried away?
- Are multiple birds affected?
The location can immediately narrow down the possibilities.
A predator that entered through a small opening may leave a very different pattern from one that grabbed a bird through a larger gap in fencing.
2. Look at the Feathers 🪶
Feathers can tell you something about what happened, but they need to be interpreted carefully.
A large concentration of loose feathers in one area can indicate that a bird was attacked or struggled there.
Look at:
Where the feathers are located.
Are they inside the coop?
Under a fence?
Near vegetation?
Along a trail?
A trail of feathers leading away from the coop may suggest that the bird was dragged or carried, although other animals can disturb feathers afterward.
Feathers alone cannot identify a specific predator.
3. Examine the Coop for Entry Points
Check the entire enclosure.
Look for:
- Holes in wire
- Gaps beneath doors
- Broken boards
- Damaged roof areas
- Loose hardware cloth
- Open windows
- Gaps around gates
- Digging underneath fencing
Pay particular attention to places that are easy to overlook.
A small opening can matter.
Predators vary considerably in their ability to squeeze through gaps, climb, dig, or enter from above.
4. Look for Tracks 👣
Tracks can provide useful evidence when they’re clear.
Check:
- Soft soil
- Mud
- Dust
- Snow
- Wet ground near water sources
Look for the overall track pattern, not just one footprint.
Consider:
- Approximate size
- Number of toes
- Shape
- Claw marks
- Walking pattern
- Spacing between tracks
Take photographs before disturbing the area.
Place a familiar object nearby for scale, but don’t touch or alter the track itself.
Poor-quality tracks can easily lead to misidentification.
5. Check Whether the Predator Dug Under the Fence
Fresh digging along the perimeter is an important clue.
Look for:
- Loose soil
- Scrape marks
- Displaced dirt
- A gap under the fence
- Disturbed vegetation
If the predator appears to have entered from below, inspect the entire perimeter rather than focusing only on the location where you found the bird.
A predator may have created the opening somewhere else and traveled inside the enclosure.
6. Check Above the Coop 🦅
Don’t investigate only at ground level.
Some poultry predators can approach from above.
Look for:
- Open roof sections
- Weak netting
- Gaps in overhead protection
- Feathers in an open run
- Evidence of birds being attacked outdoors
If a bird disappears without obvious ground-level entry damage, consider whether the enclosure is adequately protected from aerial predators.
The surrounding environment matters too.
Open runs, trees, poles, and nearby structures can provide opportunities for predators to approach or observe poultry.
7. Consider What Happened to the Bird
If you find a carcass, observe it carefully before moving it.
Possible clues include:
- Location of the carcass
- Missing portions
- Feather removal
- Evidence of feeding
- Whether the bird appears to have been carried
- Whether the carcass has been disturbed after death
But be careful.
Feeding behavior is not always unique to one species.
A predator may kill a bird and leave it behind. Another animal may later feed on the carcass.
That’s why identifying a predator from the carcass alone can be unreliable.
8. Don’t Assume Every Missing Bird Was Killed
Sometimes the most important clue is what isn’t there.
A missing bird may have:
- Escaped
- Been carried away
- Become trapped
- Been taken by a predator
- Died somewhere hidden and later been scavenged
Check nearby vegetation, sheds, corners, and other hiding places.
If several birds disappear under similar circumstances, however, the pattern becomes more significant.
9. Consider the Time of Activity 🌙☀️
Timing can help narrow the possibilities.
Ask when the problem is occurring:
During the day?
Around dusk?
At night?
Early morning?
Different predators have different activity patterns, although these can overlap.
Don’t use time of day as proof.
Use it as one piece of evidence alongside tracks, entry points, and attack patterns.
10. Use a Trail Camera When the Evidence Isn’t Clear
If you keep finding unexplained damage, a properly positioned wildlife camera can be extremely useful.
Place it where it can observe:
- The coop entrance
- A suspected entry point
- A damaged fence section
- A common pathway
The goal isn’t to guess which predator is responsible.
It’s to observe what is actually visiting the area.
Make sure cameras and other equipment are positioned safely and do not interfere with poultry or wildlife.
11. Create a Predator Evidence Log 📋
If problems happen repeatedly, write them down.
Record:
Date: ______
Time discovered: ______
Location: ______
Number of birds affected: ______
Feathers found: ______
Tracks: ______
Fence damage: ______
Entry point: ______
Weather: ______
Camera evidence: ______
After several incidents, patterns may become much easier to recognize.
For example, you may discover that every incident happens after dark and occurs near the same weak section of fencing.
That’s much more useful than simply saying:
“Something is getting my chickens.”
12. Don’t Forget Scavengers
One of the biggest investigation mistakes is assuming the animal you see feeding on a carcass was necessarily the animal that killed the bird.
Scavengers can arrive after an animal has already died.
This can dramatically change the appearance of the original scene.
If you discover a carcass, document it before disturbing it whenever practical.
The first animal seen at the scene isn’t automatically the culprit.
A Quick Predator Investigation Checklist 🔎
When something happens, check:
☐ Where was the bird found?
☐ Where are the feathers?
☐ Are there tracks?
☐ Is there digging?
☐ Are there holes or gaps?
☐ Is the roof secure?
☐ Is the run covered?
☐ When did the incident probably occur?
☐ Were other birds affected?
☐ Could another animal have disturbed the scene?
☐ Can a camera confirm what is happening?
The more independent clues point in the same direction, the stronger your conclusion becomes.
Don’t Wait for the Next Attack
You don’t necessarily need to identify the exact predator before improving basic poultry security.
Regardless of the culprit, check that:
🔒 Doors close securely.
🧱 Openings are properly protected.
🕳️ Perimeter gaps are addressed.
🪶 The run has appropriate overhead protection where needed.
🌙 Birds are safely enclosed at night.
🛠️ Damaged fencing is repaired promptly.
Local predators vary, so poultry protection should be adapted to the wildlife in your area.
Final Thoughts 🐔💚
A predator investigation doesn’t have to become a guessing game.
Look at the whole scene.
Feathers, tracks, digging, entry points, timing, carcass condition, and camera footage can each provide useful information. None should automatically be treated as definitive on its own.
Most importantly, don’t let one clue convince you that you’ve identified the culprit when the evidence doesn’t support it.
The best approach is simple:
Observe first. Record the evidence. Look for patterns. Then improve the weak points in your poultry setup.
Your chickens don’t need you to become a wildlife detective overnight.
They need a keeper who notices problems early and responds thoughtfully. 🐔🔎