The Humble Beginning: Incubation and the Miracle of Life
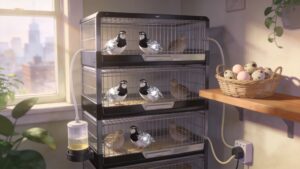
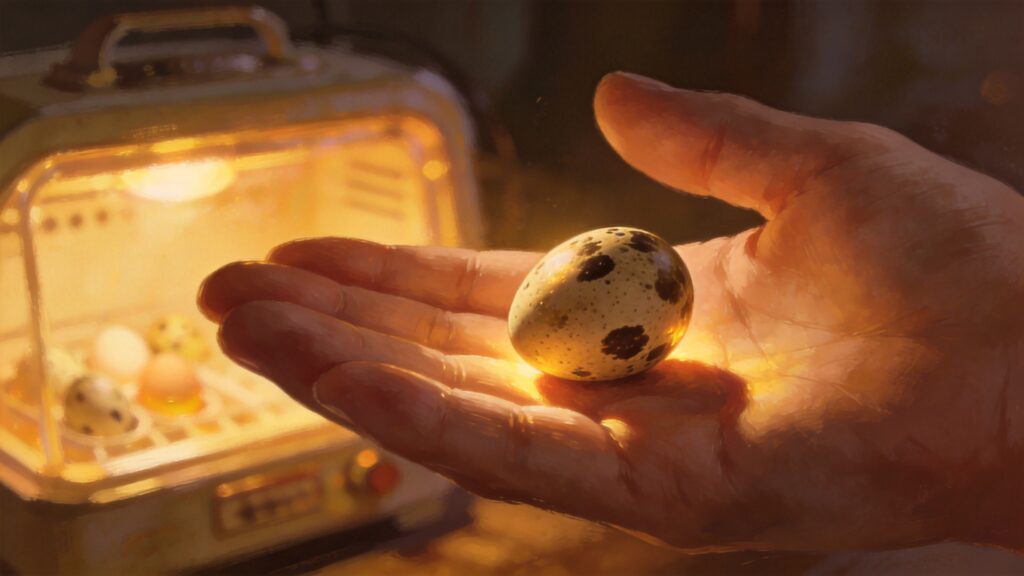
It started with a single egg—small, speckled, and warm in my palm. I had read about quail farming for years, drawn by the promise of a compact, efficient protein source that could fit into a suburban backyard. But nothing prepared me for the moment I placed twelve Coturnix quail eggs into a secondhand incubator and pressed the power button. That tiny machine became a window into something ancient.
The incubation period for quail is remarkably short—just 17 to 18 days, compared to a chicken’s 21. But those days are packed with precise demands. I kept the incubator at 99.5°F (37.5°C) with a relative humidity of 45–50% for the first 15 days, then bumped humidity to 65–70% for the final two days to help the chicks pip. Every morning I turned the eggs three times (automatic turners work, but manual turning builds a strange, almost meditative ritual). The daily flip, the careful misting, the quiet hum of the fan—it all built toward one thing.
“The waiting is the hardest part. But when you hear that first peep from inside the shell, you understand that sustainability isn’t just a diet choice—it’s a relationship with time itself.”
On day 17, life announced itself. A tiny crack appeared, followed by a peep so faint I almost missed it. Within hours, a wet, wobbling chick emerged from the translucent shell. I watched nine others follow, each one a miniature triumph. Two didn’t hatch—it happens, and that’s part of the learning curve. But ten healthy, shimmering chicks stood in the incubator, already pecking at the air. The cycle of egg to table had begun.
Incubation Essentials: What I Learned
- Temperature Stability
- Even a 1°F swing can kill embryos. Invest in a reliable incubator or a separate thermometer/hygrometer.
- Humidity Control
- Too dry: chicks stick to the shell. Too wet: they drown in their own fluids. Weigh your eggs daily to track water loss.
- Candling
- On day 7, hold each egg against a bright flashlight. You’ll see a dark spot with veins—or a clear yolk that won’t grow. Discard clears immediately to prevent fungus.
I still remember the smell of the incubator when I first opened it—a warm, earthy scent, not unlike fresh hay. That smell now triggers something primal in me: the connection between a living creature and the meal it becomes.
From Hatchery to Brooder: The First Critical Weeks
The moment those chicks dried off and fluffed up, I transferred them to a brooder—a simple plastic tub with a heat lamp. For the first week, the lamp stayed at 95°F (35°C), lowered by 5°F each week. Quail chicks are ridiculously small; you can hold a dozen in both cupped hands. But they grow fast, and the first three weeks determine everything about their health.
I made mistakes. Early on, I used wood shavings as bedding, but the chicks ate them and got impacted crops. I switched to paper towels for the first week (easy to change, no ingestion risk), then moved to fine pine shavings after they started foraging. Waterers needed to be shallow—quail drown easily. I added a few marbles to the water dish so they could see the sparkle and drink safely.
Their food: a high-protein game bird starter (28–30% protein) for the first six weeks. I offered it in a small tray, sprinkled with a little sand for grit. And I watched them grow. They went from helpless peeping fluffballs to miniature replicas of adults in just ten days. The transformation was breathtaking.
Brooder Setup Checklist (My Go-To List)
- Heat source: Infrared heat lamp with a dimmer switch—allows gradual temperature reduction.
- Bedding: Paper towels for week 1, then fine pine shavings. Never use cedar (toxic fumes).
- Feeder: A shallow tray or a lid—quail scatter feed if the container is too deep.
- Waterer: A mason jar with a base designed for chicks, or a shallow dish with pebbles to prevent drowning.
- Space: 6 inches per chick initially, expanding to 1 square foot per bird by week three.
By week three, they were outgrowing the brooder. I moved them to a larger enclosure with a wire floor (to keep feces away from them) and a small heat panel on one side. Their feathers came in, their personalities emerged. One hen, which I named Speckle, would peck at my shoelaces whenever I entered the coop. Another, a rooster, started crowing at 5:30 AM (a sound like a rusty bicycle pump—not loud, but persistent).
Growing Fast: The Juvenile and Adult Stages
From week three to eight, quail enter a growth spurt that demands deliberate management. Their feed changes from starter to a 20% protein grower—too much protein later can cause kidney issues. I also introduced chopped greens: clover, dandelion leaves, and leftover kale from my garden. Watching them chase a leaf across the pen, six birds pouncing on it, was a daily joy.
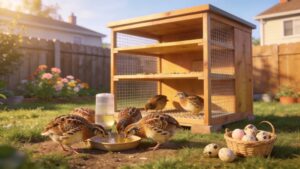
Space becomes critical. Coturnix quail are ground-dwelling birds; they need floor space, not height. I kept my flock of ten in a 4×2-foot pen, but for a larger group, allow 1 square foot per bird minimum. Overcrowding leads to feather picking, cannibalism, and stress. I added visual barriers (cardboard partitions) to give shy birds hiding spots.
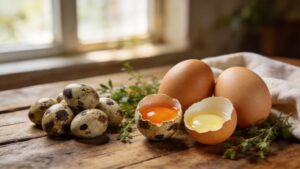
Light cycles matter for egg production. Quail need about 14 hours of light per day to lay consistently. In winter, I added a small LED bulb on a timer. My hens started laying at about six weeks old—small, speckled eggs that looked like artisan jewels. Each one weighs about 10–12 grams, roughly one-fifth the size of a chicken egg, but with a richer yolk-to-white ratio. I collected them every morning, sometimes still warm.
| Age | Stage | Protein % | Temp (F) | Key Notes |
|---|---|---|---|---|
| 0–1 week | Chick/brooder | 28–30 | 95 → 90 | Paper towels, shallow water, no drafts |
| 2–3 weeks | Juvenile | 28 | 90 → 85 | Switch to pine shavings; add perches |
| 4–6 weeks | Growout | 20–22 | Room temp (70–75) | Move to adult pen; introduce greens |
| 7+ weeks | Adult/Layer | 16–18 (layer) | Room temp | 14h light; collect eggs daily |
By week eight, the roosters were ready for processing. I knew this going in: I wasn’t raising pets, I was raising food. But knowing something intellectually and experiencing it emotionally are different planets. The morning of harvest, I walked out to the pen with a deep breath. Speckle—the rooster who loved shoelaces—jumped onto my hand. That moment was the hardest.
The Harvest: A Grateful Transition
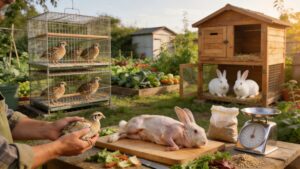
Processing quail is a skill that demands respect, not squeamishness. I’d watched dozens of videos, read guidebooks, and even practiced on store-bought quail. But doing it yourself changes everything. I used the single-cut method: a sharp pair of kitchen shears, one clean snip just above the head, and the bird is instantly unconscious—then a second cut to bleed out. I held the bird upside down over a bucket, letting the blood drain. Then came scalding (160°F water for 45 seconds), plucking, and evisceration.
The whole process, from pen to freezer, takes about 20 minutes per bird once you have a rhythm. I processed six roosters in one morning. Each bird yielded about 7–8 ounces of meat—enough for two generous portions. The feathers I saved for compost or crafts. The organs: heart, liver, and gizzard, went into a small jar for making stock. Nothing was wasted.
“To kill a creature you’ve raised is an act of radical responsibility. It forces you to face the cost of your dinner. And when you do, you never see a supermarket chicken breast the same way again.”
I won’t pretend it was easy. My hands trembled during the first bird. But by the third, I felt a quiet calm. I was honoring the animal’s life by using every part, by being present in the moment. The emotional weight lifted when I looked at the neat row of vacuum-sealed packages in my freezer—protein I had grown, cared for, and harvested myself. That connection is the heart of sustainable living.
Processing Steps in Brief
- Rest the bird: Remove feed 12 hours before processing to empty the crop.
- Kill and bleed: Use a clean cut; hang the bird for 60–90 seconds to drain blood completely.
- Scald and pluck: 150–160°F water, 30–45 seconds; test a wing feather—if it pulls easily, you’re at the right temp.
- Eviscerate: Cut around the vent, pull out the entire digestive tract, save heart/liver, and rinse cavity with cold water.
- Chill: Ice bath for 30 minutes to stop bacterial growth and set the meat.
From Pasture to Plate: Cooking and Connecting
The meat of a home-raised quail is nothing like the dry, bland birds sold in gourmet stores. It’s dark, silky, and rich—somewhere between duck and chicken, but more delicate. I tried my first harvest in a simple preparation: S alt, pepper, and a sprig of rosemary, roasted at 400°F for 12 minutes. The skin turned golden and crackly; the meat fell off the bone. I ate it over a bed of arugula with a lemon vinaigrette, and I nearly cried.
Quail eggs are equally versatile. I hard-boil them for salads, fry them sunny-side-up over rice, or pickle them with beets and bay leaves. One quail egg replaces about a quarter of a chicken egg in recipes, so I adjust accordingly. The yolk-to-white ratio is higher, which makes baked goods fluffier and richer. My friends now request my “farm-fresh quail quiche” for brunch.
But the deeper lesson is beyond recipes. When you raise your own quail, you understand the true cost of food. You see the feed bags, the electricity for the incubator, the hours of cleaning. You also see the immense reward: knowing exactly where your protein came from, what it ate, and how it lived. That knowledge transforms you from a passive consumer into an active participant in your own nourishment.
Conclusion
From a single speckled egg to a roasted bird, the quail lifecycle is a compact, intimate course in sustainability. It teaches patience, responsibility, and gratitude. It’s not for everyone—but if you’ve ever wondered where your dinner really comes from, I encourage you to try raising even a small flock. You may find, as I did, that the journey from egg to table is the most sustaining meal you’ll ever eat.