Introduction
You check your chickens during the day and everything looks normal.
Then someone mentions chicken mites.
Suddenly, you’re wondering whether tiny parasites are hiding in the coop, feeding on your birds at night, or hiding somewhere you cannot see.
That concern is understandable because some poultry mites are difficult to detect during a normal daytime inspection. Certain species spend much of their time hiding in cracks, crevices, roosting areas, and nest boxes, then move onto chickens to feed.
This makes nighttime inspection a useful part of investigating a suspected mite problem.
The goal isn’t to stay awake every night watching your flock. Instead, a short, organized inspection after dark can sometimes reveal clues that are easy to miss during the day.
Here’s how to do it safely and systematically. 🔎
🕷️ Why Check Chickens at Night?
Not all poultry mites behave the same way.
Some external parasites spend most of their lives on the bird. Others, including northern fowl mites and poultry red mites, have behaviors that make environmental inspection particularly useful.
Poultry red mites are especially notable because they can spend much of their time hiding in the environment and feed on birds primarily at night.
During the day, they may be hidden in:
- Cracks in wooden housing
- Roosting structures
- Nest boxes
- Crevices
- Joints between materials
- Other protected areas near where chickens sleep
So you can inspect a chicken at noon and find very little, while a nighttime inspection may reveal activity around the roost.
That doesn’t mean every nighttime insect is a mite.
It means the timing of your inspection can provide additional information.
🔦 What You Need for a Night Inspection
A basic inspection does not require expensive equipment.
Prepare:
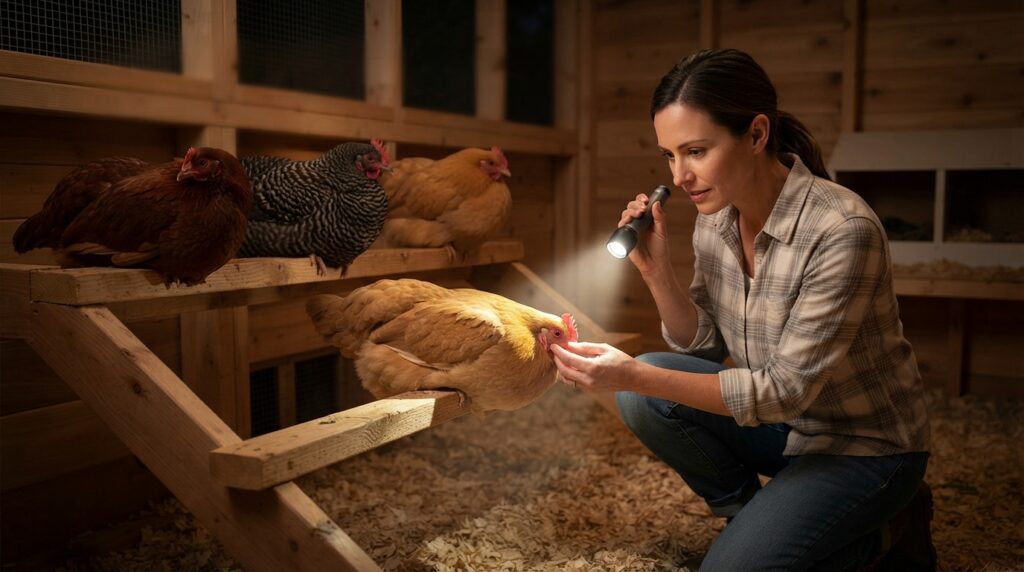
- A bright flashlight
- Clean gloves
- A phone or camera
- A small piece of white paper or tissue
- A clean container if you need to collect a specimen for identification
- Comfortable clothing and footwear
A flashlight with a focused beam can make tiny moving organisms easier to notice.
A headlamp can also be useful because it leaves both hands available.
Avoid using unnecessarily bright lights directly in a chicken’s eyes.
🌙 Wait Until the Chickens Are Settled
The best time to inspect is generally after the flock has settled onto the roost.
Chickens are normally much less active at night.
This makes it easier to examine:
- The birds
- The roosts
- The surrounding structure
- The areas where parasites may hide
Enter the coop quietly.
Suddenly disturbing the flock can cause birds to become stressed, fall from the roost, or pile together.
Move slowly and keep the inspection calm.
🐔 Step 1: Look at the Flock Before Touching Anything
Start by observing the chickens.
Ask yourself:
Are the birds sleeping normally?
Or are some birds unusually restless?
Look for:
- Repeated movement
- Excessive scratching
- Frequent preening
- Birds repeatedly shifting position
- Agitation around the roost
- Birds avoiding particular areas
These observations don’t diagnose mites by themselves.
A chicken may move at night for many reasons.
But unusual nighttime restlessness can tell you where to look more closely.
🔍 Step 2: Inspect the Roost
The roost is one of the most important places to examine.
Shine your flashlight along:
- The underside of the perch
- Ends of wooden roosts
- Joints
- Screw holes
- Cracks
- Areas where the roost meets the wall
- Supports and brackets
Look for tiny moving organisms.
You may also notice dark or reddish spotting or accumulations in areas where mites have been hiding or feeding.
Don’t rely on color alone, though.
Dust, dirt, dried droppings, and other debris can look similar.
🪵 Step 3: Check Cracks and Crevices
Mites that spend time away from the chicken need protected places to hide.
This makes cracks particularly important.
Slowly examine:
Wall → corner → roost → joint → nest box → floor edge
Wooden structures can have numerous tiny spaces that aren’t obvious during a quick daytime cleaning.
Use the flashlight at an angle rather than simply shining it straight into the coop.
Side lighting can sometimes make small moving particles easier to notice.
🪺 Step 4: Inspect the Nest Boxes
Nest boxes should also be checked.
Look around:
- Corners
- Cracks
- Wooden joints
- Under removable nest-box components
- Areas where bedding meets the structure
If mites are suspected, don’t simply look at the bedding surface.
Examine the structure itself.
Parasites can hide in protected spaces rather than sitting openly where you can easily see them.
🐔 Step 5: Inspect the Chickens
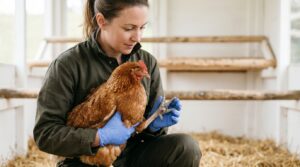
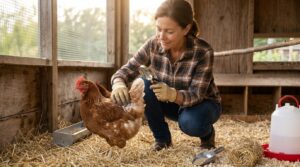
Now look at the birds.
Because they are settled, nighttime can be a convenient opportunity for a closer examination.
Gently part feathers and inspect the skin around:
The vent
Look for:
- Tiny moving organisms
- Irritation
- Excessive debris
- Feather damage
Under the wings
Part the feathers and examine the skin.
Around the neck
Check the feather bases and skin.
Around the tail
Inspect the feather bases carefully.
The breast and abdomen
Look for irritation, parasites, or unusual debris.
Don’t rush.
Tiny parasites can be difficult to see, particularly when the feathers are dense.
🕷️ What Might You Actually See?
This is where beginners need to be careful.
A tiny moving speck is not automatically a mite.
You could encounter:
- Mites
- Lice
- Other small arthropods
- Environmental insects
- Dust
- Debris
- Dried organic material
Some mites are extremely small and difficult to identify accurately by appearance alone.
If you find something suspicious, don’t immediately assume you know the species.
Take a clear photograph or collect an appropriate specimen for identification if possible.
A veterinarian, poultry specialist, or diagnostic laboratory may be able to help determine what you’re seeing.
🔴 What About “Red Mites”?
The term red mite is commonly used for poultry red mite, Dermanyssus gallinae.
These mites can appear grayish or pale when they have not recently fed and become more reddish after feeding.
They are particularly associated with hiding in the environment during the day and feeding on birds at night.
This is why checking the coop after dark can be valuable when this type of mite is suspected.
However, color alone is not enough for reliable identification.
🧻 Try the White-Paper Method
A simple observation technique can sometimes help you investigate suspicious areas.
Place a clean piece of white paper or tissue near a suspected hiding area and inspect it closely with a flashlight.
You may be able to notice tiny moving organisms more easily against a light background.
You can also gently wipe or inspect a suspicious crack or surface and look for moving specks.
This is an observation method, not a definitive diagnostic test.
If you find something, document it rather than immediately assuming what it is.
🩸 Look for Signs in the Chickens
A nighttime inspection should be combined with daytime observation.
Watch for:
- Excessive scratching
- Frequent preening
- Restlessness
- Feather damage
- Reduced activity
- Weight loss
- Pale comb or wattles
- Reduced egg production
- Poor body condition
Heavy parasite burdens can contribute to blood loss and anemia, particularly with blood-feeding mites.
But these symptoms are not exclusive to mites.
A pale comb, for example, can have multiple causes.
Think of symptoms as clues, not diagnoses.
🧪 Don’t Confuse Mites With Lice
Mites and lice are different types of external parasites.
Lice generally remain on the bird and can often be found by carefully parting feathers and examining feather bases.
Some mites, in contrast, may spend substantial time in the environment.
That means:
Finding nothing obvious on the chicken does not necessarily rule out a mite problem.
If the birds show suspicious signs and you repeatedly find tiny organisms around the roost at night, environmental inspection becomes particularly important.
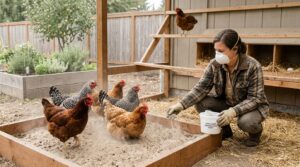
🧹 Inspect the Coop, Not Just the Birds
One of the most common mistakes is focusing entirely on the chicken.
If you’re investigating mites that spend time in the environment, the coop may be an important part of the problem.
Inspect:
- Roosts
- Roost supports
- Nest boxes
- Wall cracks
- Floor-wall joints
- Wooden seams
- Crevices
- Corners
- Areas behind fixtures
Think of the coop as a potential parasite habitat, not simply a shelter.
🧽 Cleaning Helps You See What Is Happening
Good coop hygiene can make inspections easier.
Remove excessive buildup of:
- Droppings
- Old bedding
- Dust
- Cobwebs
- Organic debris
Keep the housing appropriately dry and maintain good ventilation.
However, cleaning alone should not be presented as a guaranteed cure for an established mite infestation.
Some mites can hide extremely well in structural cracks.
If a confirmed infestation persists, a more targeted control strategy may be necessary.
⚠️ Don’t Spray Random Chemicals
Finding tiny bugs can create an understandable temptation to grab whatever insecticide is available.
Don’t.
Poultry housing and chickens can be exposed to chemicals in ways that are unsafe if products are not approved for that particular use.
Before using any pesticide or insecticide:
- Identify the suspected parasite
- Check whether the product is labeled for poultry or poultry housing
- Follow the label exactly
- Observe any restrictions or withdrawal requirements
- Avoid contaminating feed and drinking water
- Follow local veterinary or agricultural guidance
A product that kills insects is not automatically safe to use around chickens.
🐔 Check the Whole Flock
If you find evidence suggesting mites, don’t inspect only the first chicken that looked uncomfortable.
Check the rest of the flock.
Record:
- Which birds show symptoms
- Which birds have visible parasites
- Body condition
- Feather condition
- Comb and skin appearance
- Changes in egg production
A simple notebook or phone note can be surprisingly useful.
You can record:
Date → Bird → Finding → Location → Action → Follow-up
This creates a basic health history instead of relying on memory.
📸 Photograph What You Find
If possible, photograph suspicious findings before disturbing them.
Take:
- A photograph of the general area
- A closer photograph
- A photograph showing scale
Good documentation can help someone else identify the problem.
If you repeatedly find the same tiny organism in the same location, documenting it over several nights can also reveal a pattern.
🚨 When a Mite Problem Needs More Than a Routine Check
Contact a veterinarian or qualified poultry professional if:
- Several chickens are affected
- Birds are becoming weak
- There is significant weight loss
- Chickens appear unusually pale
- Egg production changes substantially
- A young or vulnerable bird is deteriorating
- You cannot identify the suspected parasite
- The infestation keeps returning
- Your control attempts have failed
Severe weakness or rapid deterioration should not be treated as simply a nuisance-parasite problem.
Another disease may be involved.
🌙 A Simple Nighttime Inspection Routine
For beginners, keep the process simple.
1. Enter quietly
Avoid disturbing the flock.
2. Observe the birds
Look for unusual nighttime restlessness.
3. Check the roost
Inspect the underside, ends, joints, and supports.
4. Check cracks
Look at protected spaces near the sleeping area.
5. Inspect nest boxes
Look around structural joints and corners.
6. Examine several chickens
Check the vent, under the wings, neck, tail, and other feathered areas.
7. Document suspicious findings
Take photographs or collect specimens appropriately.
8. Repeat if necessary
One inspection may not tell the entire story.
9. Identify before treating
Don’t automatically apply chemicals because you saw tiny insects.
This routine takes only a few minutes once you become familiar with it.
💡 The Biggest Beginner Mistake
The biggest mistake isn’t failing to find a mite.
It’s assuming you know what you found without looking closely enough.
A tiny insect on a chicken could be a louse.
A tiny organism in a crack could be a mite.
A pale speck on a feather could simply be debris.
And a chicken scratching could have a completely different problem.
Good poultry care is less about reacting quickly to every unusual sign and more about observing carefully, identifying the problem, and choosing an appropriate response.
Final Thoughts 🐔❤️
Nighttime can give backyard chicken keepers a valuable second opportunity to investigate suspected mite problems.
When chickens are settled on their roosts, you can inspect the birds more closely while also checking the places where some mites spend the daytime hiding.
Focus on the roost, cracks, crevices, nest boxes, and the birds themselves.
Use a flashlight, document anything suspicious, and inspect more than one chicken.
Most importantly, remember that finding a tiny insect is the beginning of an investigation, not automatically a diagnosis.
A careful nighttime check can help you notice problems earlier, understand where to look, and give you better information before deciding what to do next. 🌙🔦🐔